Why Does My AirPods Sound Muffled on Mac – Easy Troubleshooting in 2023
Table of Contents
Introduction
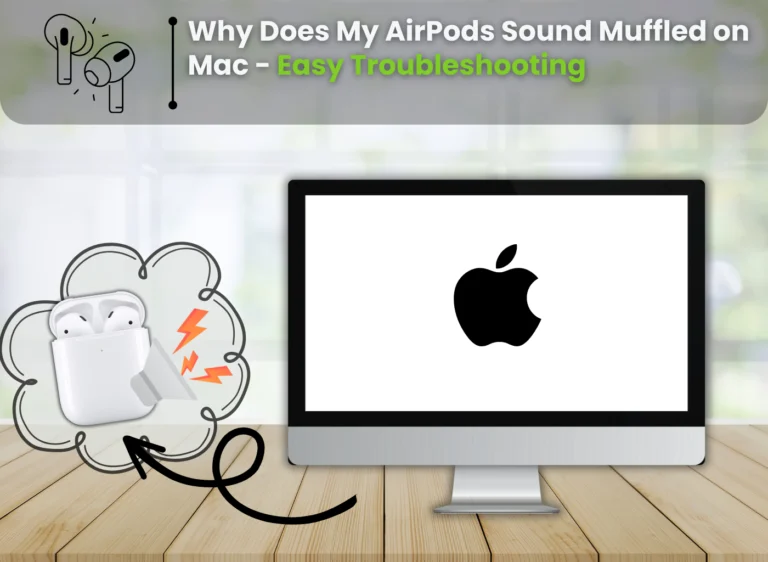
For those who own Apple AirPods/ AirPods Pro and utilize them with their Mac, the issue of muffled sound might have been encountered. The shift from the anticipated crystal-clear audio to a suboptimal listening encounter can be rather disheartening. Nevertheless, there’s no need for concern, as this article explores the underlying causes of this predicament and presents viable remedies to reinstate the high-quality audio of your AirPods when connected to your Mac.
What causes the Muffled Sound Issue
The Connection Conundrum
One of the primary reasons for muffled audio on AirPods, when connected to a Mac, could be a weak or unstable Bluetooth connection. Your AirPods communicate with your Mac over Bluetooth, and any interference or weak signal can lead to compromised sound quality.
Accumulated Debris
Over time, earwax, dust, and other particles can accumulate on your AirPods’ speaker grills. This build-up can significantly affect the audio clarity, resulting in a muffled sound.
Software Glitches
Software bugs or glitches can also play a role in muffled audio. Compatibility issues between your AirPods and the Mac’s operating system might lead to sound problems.
Audio Balance
Sometimes, an incorrect audio balance setting on your Mac can cause one AirPod to sound muffled compared to the other. This imbalance can affect the overall audio experience.
Troubleshooting Steps on How to Fix Muffled AirPods Sound on MacBook
Step 1: Verify Bluetooth Connection
Make certain that your AirPods are correctly linked to your Mac. Experiment with disconnecting and then reconnecting them to establish reliable Bluetooth stability. Additionally, ensure that your Mac and AirPods remain within reasonable proximity to prevent signal disruptions.
Step 2: Clean Your AirPods
Regularly clean your dirty AirPods to prevent debris from affecting their audio quality. Gently brush the speaker grills and other parts with a soft, dry brush. Avoid using water or liquid cleaners.
Step 3: Update Software
Keeping your Mac’s operating system and your AirPods’ firmware up to date can resolve compatibility issues.
Step 4: Audio Balance Adjustment
Go to your Mac’s sound settings and ensure that the audio balance is centered. This will prevent one AirPod from sounding louder or quieter than the other, rectifying the problem.
Step 5: Reset your Airpods
Launch the “System Preferences” on your Mac. Then, pinpoint and select the “Bluetooth” segment. Within the list of devices, locate your AirPods and hover your cursor over them. A small “x” icon will materialize next to your AirPods. A simple click on this icon will detach them from your Mac. Subsequently, return your AirPods to their case and shut the lid. Now, press and hold the circular button at the rear of the case until the LED light initiates a flashing pattern.
This signals the commencement of the reset procedure, readying your AirPods for pairing with another device. The integrated reset feature within macOS facilitates a seamless reset of your earbuds, effortlessly rectifying any issues related to muffled sound.
Enhancing Your Audio Experience
Use Equalizer Settings
Experiment with your Mac’s equalizer settings to find a preset that suits your listening preferences. Adjusting the equalizer can enhance audio clarity and reduce any bad sound quality.
Try a Different App
Sometimes, the issue may be specific to a particular app. Test your AirPods with different applications to determine if the problem persists across all apps or is limited to one.
Extra Tip: Changing the audio quality of AirPods back to 48 kHz high-quality
To restore the AirPods’ audio quality to its high-quality 48 kHz setting, follow these straightforward steps. Begin by ensuring your AirPods are connected to your Mac via Bluetooth. Next, click on the Apple menu and opt for “System Preferences.” Within the System Preferences window, locate and select the “Sound” preference. Here, you’ll encounter the “Input” tab.
Under this tab, a roster of available input sources will be visible. Identify your AirPods within this list and designate them as the microphone input. This ensures that audio is captured via the AirPods’ microphone. Once the AirPods are set as the microphone input, their audio quality will seamlessly revert to the superior 48 kHz high-quality standard.
Conclusion
In conclusion, experiencing muffled sound with your AirPods on your Mac can be frustrating, but it’s not an insurmountable problem. By understanding the potential causes and following the troubleshooting steps provided in this article, you can restore the crystal-clear audio experience you expect from your AirPods.
Also, if you want to know about “Why Do My JBL Headphones Keep Turning Off – Easy Troubleshooting Guide in 2023!”, Please Read my article here!
Frequently Asked Questions
Yes, you can continue using your AirPods Pro after they’ve beeped due to water exposure, but it’s recommended to follow the suggested steps to address the issue and prevent further damage.
If your AirPods Pro continues to exhibit issues like beeping even after following the recommended solutions, there might be underlying damage. Seeking professional help is advisable in such cases.
Using a hairdryer on low heat and from a safe distance can help speed up the drying process, but be cautious not to expose it to excessive heat.
While your AirPods have water resistance, wearing them in heavy rain might still expose them to more moisture than they can handle. It’s best to exercise caution during such conditions.


